What You Need To Know To Paint Your Door In Only One Day
This article is a step by step guide to help you curb the appeal of your home by giving your front door a new and fresh look.
You probably know already what a difference can a fresh coat of paint can make for your walls.
Why not give a facelift to your front door as well?
Your front door is the first thing your guests see, so why waste your chance to make a positive first impression?

The Beginning
The first thing to do is to decide on the color of your door.
White is always a good idea, as it looks fresh and clean.
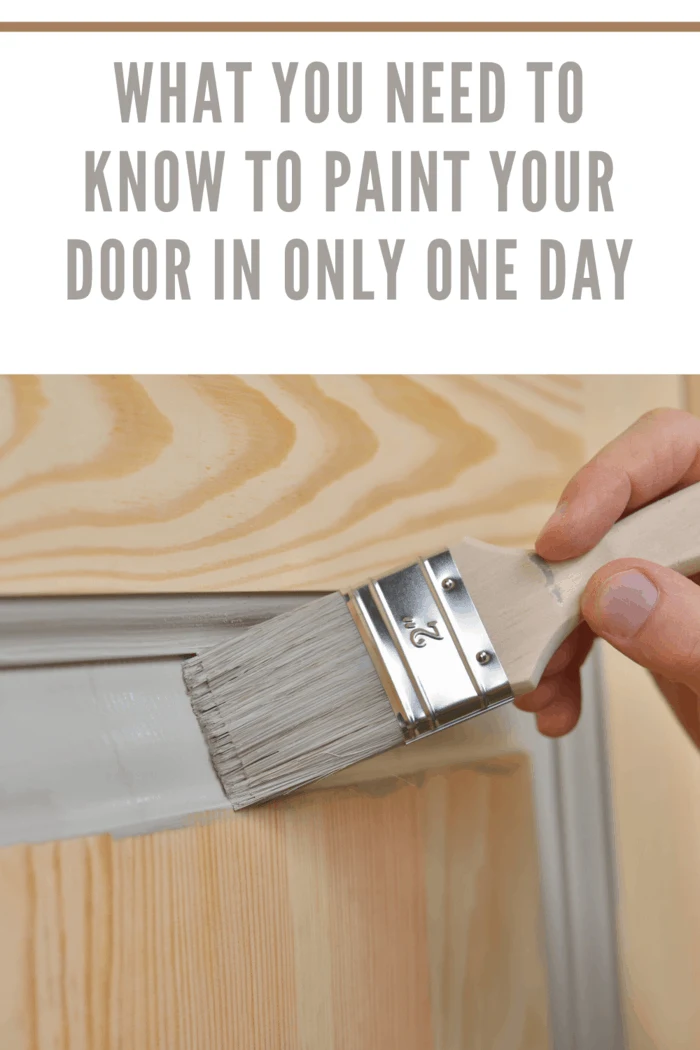
Nevertheless, if you have a modern style house, you may want to choose something more trendy like a matte grey.
A period home, for instance, may call for a royal blue or red door.
Feel free to experiment with different colors until you find the best one.
Likewise, you can replace mortice door locks or handles to complete the look of your fresh new door.
Surface preparation is the most important thing you have to pay attention to before you start the actual painting job.
Take as much time as you need to do a proper job at preparing your door, to give it a smooth and beautiful finish you want.
How To Paint Your Front Door, One Step At A Time
Step 1:
Get ready to start by 7 am.
Put on your protective gear.
With goggles and gloves on, apply the paint stripper using an older brush.
Make sure you apply it also on corners and moldings, as well as on all flat areas.
Allow it to sit for the recommended amount of time.
You should soon notice that the surface begins to develop bubbles.
This is a sign that the chemicals are working.
Step 2:
Around 7:30 am, try to scrape back the paint using a flat blade scraper.
Be patient, as paint applied in multiple layers may require more stripper and more waiting time to get rid of it.
Once the recommended time has passed, you can scrape back all the paint to expose the bare wood.

How To Apply The Paint Stripper
Make sure you carefully read the paint stripper instructions before starting to use it.
Take all recommended precautions.
If possible, take the door off its hinges and do this work in a garage or workshop, in order to protect your children from inhaling potentially toxic fumes.
Step 3:
By 8:30 am, you should be almost done with the scrapping.
With a shave hook, remove all remaining paint from moldings and crevices.
Keep doing it until there no more paint left on the door.
It is very important to remove all debris, to ensure a smooth surface to apply the new paint on.
Step 4:
By 9:30 am, you should be ready to neutralize the cleaned surface with water or white spirit.
Please read the instructions on the product and follow them carefully.
With a brush or cloth, work into the surface to remove all traces of stripping liquid.
Now you're good to move on to sanding your door.
Step 5:
By 10:00 am, grab a dust mask and sand the flat panels using medium-grade abrasive paper.
Use a sanding block or wrap the sandpaper around a piece of wood.
Always work in the direction of the grain. Take care not to round off sharp corners or moldings.
Sand the door a second time with a fine-grade abrasive paper.
Step 6:
By 10:30 am, you should have your door prepared for receiving the fresh paint.
Remove the handles and wedge the door open.
Keep the handle and spindle handy, should the door close by accident.
Step 7:
Now, it should be around noon, and you should be feeling hungry.
You can stop for 30 minutes to have a quick lunch.
Step 8:
By 12:30 pm it's time to start the actual painting.
Check out the image below to understand the right painting order to observe for your style of door.
Painting A Panel Door
In order to paint a panel door, you should start with the panels and the surrounding moldings.
Then, paint the center vertical.
The crossing rails should come next.
Start with the top rail and work down to the bottom.
Paint the outer verticals.
Finish the job by painting the three exposed door edges.

Painting A Glazed Door
Always protect the glass with masking tape.
Start with painting the moldings around the glass.
Use a cutting-in brush.
Then, paint the crossing rails, starting from the top and working down.
Next, paint the outer-verticals and the exposed door edges.
Painting A Flush Door
Start by dividing the door into eight imaginary areas.
Start from the top left and work your way down to the bottom right.
Make sure you blend each area into the next one before the paint dries.
Finish with vertical strokes following the direction of the grain.
Finish with painting the door edges.
Step 9:
Now it's 2 pm, and you're done!
You have to leave the door to dry.
It's usually best to leave the door open until it is completely dry.
The result should be impeccable.
Take one step back and admire your work.
Your neighbors must be already jealous!

Comments
Post a Comment